
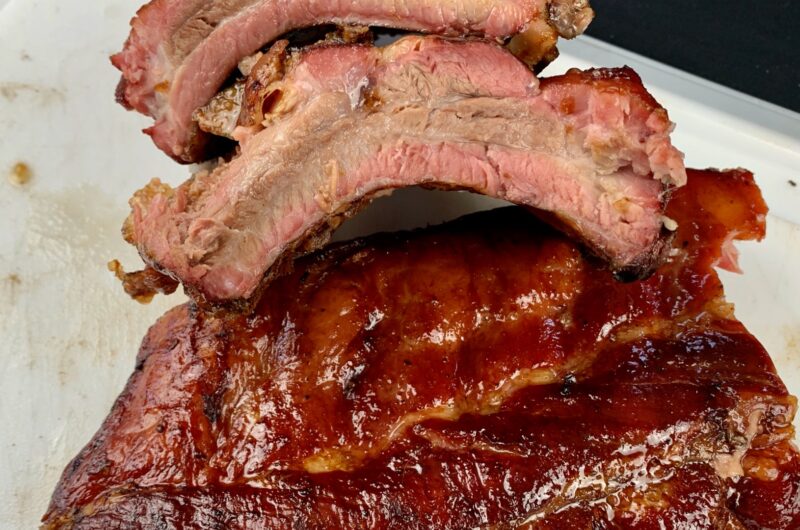
(Baby Backs vs. St. Louis Style)
A good feed of tender smoked pork ribs must mean that summer has arrived. What could be better than sharing some perfectly smoked ribs and all the trimmings with your friends and family on a hot summer day?
However, walking up to the butcher counter to buy a rack of ribs can be incredibly intimidating for an amateur pitmaster. You are staring at a display case filled with different names, varying price points, and completely different shapes.
Should you buy baby back ribs, or should you hunt down a rack of St. Louis cuts? While both will deliver a great-tasting meal when properly smoked, they are shaped differently, cook at different speeds, and require a slightly different approach on your pellet grill.
Before you fire up your cooker, let’s break down the definitive differences between the two most popular pork ribs on the planet so you know exactly which ones to buy.
St. Louis Style Ribs (The Competition Standard)
St. Louis-style pork ribs are the undisputed gold standard cut of pork ribs that professional pitmasters use in competition cooking.
- Where They Come From: These are cut directly from the belly side of the hog, starting where the back ribs leave off and extending down toward the breastbone. They start life as a standard rack of flat “spare ribs.”
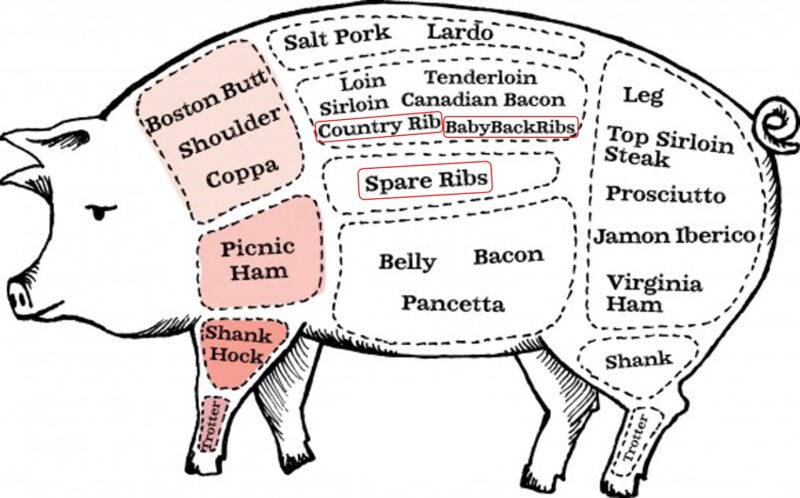
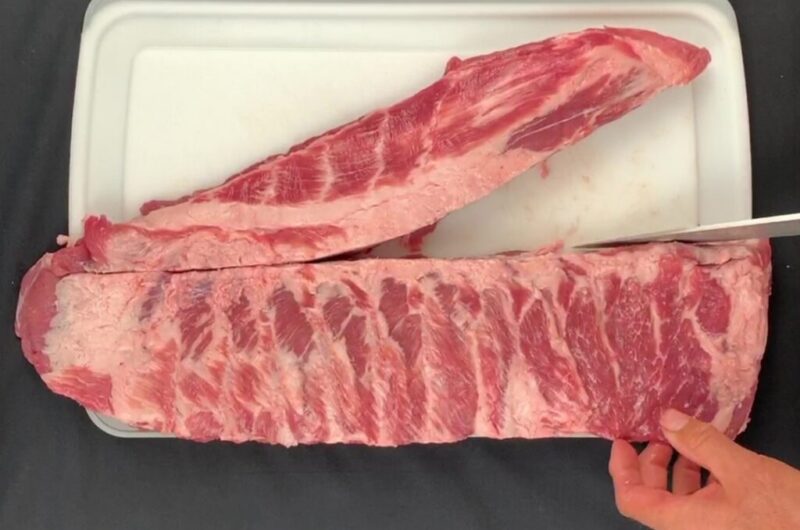
- The Shape and Texture: Standard spare ribs have an irregular, triangular shape. To make them St. Louis style, the butcher trims away the hard breastbone and the chewy cartilage tips, squaring the rack off into a perfect, uniform rectangle. Because they come from the belly area, they have a higher fat content, which means they stay incredibly juicy and forgiving during a long smoke.
- The Searing/Smoking Verdict: Their uniform shape and consistent thickness allow for a perfectly even smoke across the entire rack. Every single bone finishes cooking at the exact same minute, ensuring you don’t end up with dry edges.
Pork Back Ribs (The Backyard “Baby Back” Favorite)
Pork back ribs—famously known as “Baby Backs”—are easily the most recognizable and popular rib style for neighborhood backyard barbecues.
- Where They Come From: These ribs are cut from the top of the hog’s rib cage, right where the ribs meet the spine. They are the bones that sit directly underneath the high-value pork loin muscle.
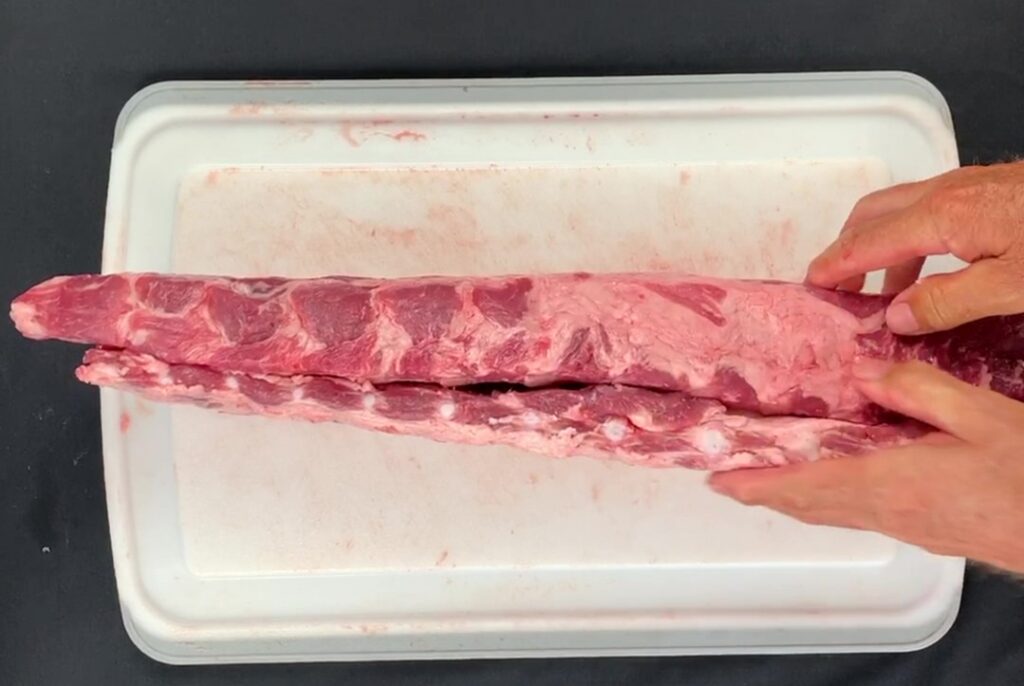
- The Shape and Texture: As you can see when comparing them, pork back ribs are much more irregular and curved in shape compared to a flat St. Louis rack. They are noticeably tapered, meaning they are significantly thicker and heavier at one end than they are at the other. The meat is leaner than belly meat, offering a distinct, tender “loin-like” bite.
- The Searing/Smoking Verdict: Because baby back ribs are smaller and leaner, they cook a bit faster than heavy St. Louis cuts. However, because of their tapered shape, you have to be careful to monitor the thin end of the rack so it doesn’t dry out before the thick end finishes rendering its fat.
[As an Amazon Associate and brand partner, I earn from qualifying purchases]
The Pitmaster Toolkit & Pre-Cook Preparation
Regardless of which style you buy, pork ribs present a specific challenge on a pellet grill. Because the meat layer between the bones is thin, using an instant-read meat thermometer can be tricky. To ensure your meat hits its rendering sweet spot of 200°F (93°C), you need the right gear setup and a precise pre-cook workflow:
- The Pan & Rack System: Consider using a commercial smoking pan and wire nesting rack to catch the dripping pork fat. It keeps your Yoder or Traeger immaculately clean, completely eliminates dangerous grease fires, and makes your post-cook kitchen cleanup much easier.
- The Pull/Bend Test Tool: Because probing thin rib meat with an Instant-Read Thermometer can result in hitting bare bone, use your heavy-duty tongs to perform the visual “Bend Test” at the end of the cook. I recommend trying both techniques, the bend test and the thermometer, for the best results.
Crucial Pre- Cook Steps:
- Peel the Back Membrane: Before applying any seasoning, turn the rack bone-side up. Every rack of pork ribs features a thick, shiny, plastic-like membrane covering the bones. If you leave this on, it blocks your wood smoke and dry rubs from penetrating the back of the meat, and turns incredibly chewy and tough after a 6-hour cook. Take a butter knife, slide it under the membrane against a center bone to loosen it, grab it with a paper towel for grip, and peel it off in one smooth motion.
- The Overnight Dry Brine (With Caution): Place your peeled rack onto your stainless steel wire rack inside your baking pan. Apply a uniform dust of Kosher salt across both sides of the ribs. Caution: Do not overdo it! More is not better in this case. Pork ribs are inherently thin and lean. While you can be heavy-handed with salt on a giant 15-pound brisket or thick pork butt, a light, uniform sprinkle is all it takes to dry brine a rack of ribs. Let the salted ribs rest on the rack, uncovered, in your refrigerator for at least 6 hours to lock in their natural juices.
- Don’t Forget the Rub: The next morning your gorgeous rack(s) will be ready and waiting with a nice pellicle on them. This tacky surface is just crying out for a yummy rub, so reach for something sweet and a little spicy like Kosmos Q Honey Chipotle Killer Bee BBQ Dry Rub. If you are concerned about adding the additional salt, try this Dizzy Pig Salt Free Dizzy Dust. With a nice even coating of rub, these ribs are ready for the fire!!
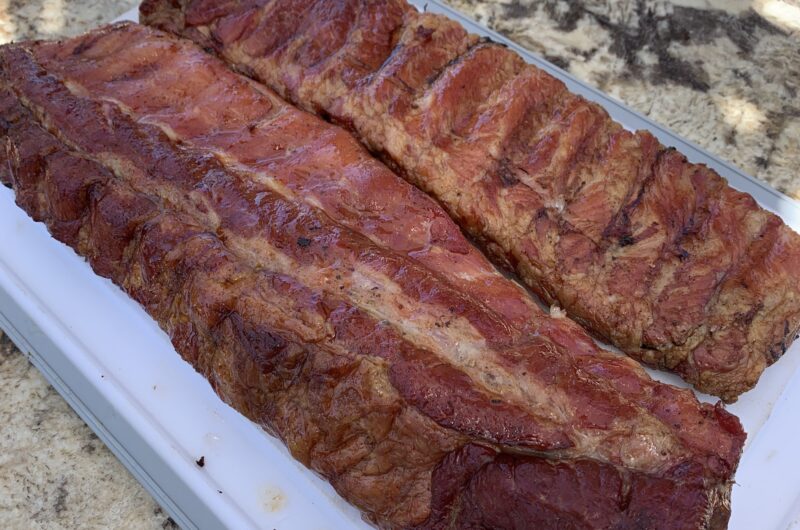
The Straight-Through Smoke: How to Cook Perfect Ribs
Forget the trendy wrapping hacks. If you want a deep, authentic backyard bark with a firm, competition-grade bite, the best method is a straight-through, unwrapped smoke. Here is how to manage the cook across roughly 6 hours until your meat hits its exact rendering sweet spot:
1. The Low-and-Slow Launch
Preheat your pellet grill to 225°F (107°C) using a sweet fruitwood blend like Apple or Cherry pellets. Pick up your entire aluminum pan and wire rack assembly and set it flat right on top of your factory grill grates. Close the lid and walk away. Keeping the ribs completely unwrapped for the entire cook is the absolute secret to forging a deep, dark, and crunchy seasoning bark.
2. The Mid-Cook Spritz (Optional)
Around the 3-hour mark, your dry rub will be locked firmly into the pork surface. Fill a food-safe plastic spritz bottle with apple juice, apple cider vinegar, or water. Give the ribs a light, even spray every hour from now on. This keeps the thin tapered edges of your Baby Backs from drying out while adding a beautiful mahogany color to the St. Louis rack.
3. Pushing Past 200°F Internal
Around hour 5, it is time to start tracking your targets. Take your precision Instant-Read Meat Thermometer and slide the probe into the thickest center part of the meat between the bones. We are waiting for the internal temperature to climb right past 200°F to 203°F (93°C-95°C). When your thermometer probe slides into that pork with absolutely zero resistance—feeling exactly like a warm stick of butter—your connective tissues have completely melted.
4. The Final Sauce Glaze (Optional)
If you like sticky ribs, brush your favorite barbecue sauce generously over both sides of the ribs during the final 30 minutes of cooking. This gives the sugars just enough time to caramelize and tighten into a gorgeous, finger-licking glaze without burning over the direct fire.
Looks like you could be a pork lover? Check out this Yummy Pulled Pork!
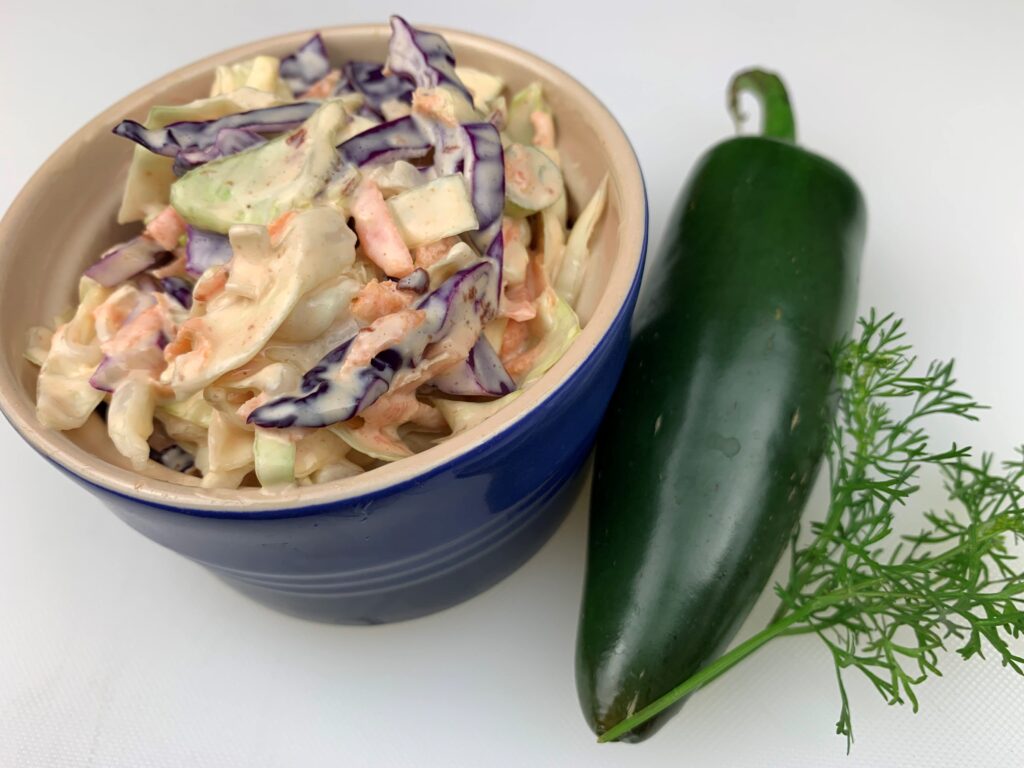
Some Spicy Southwest Chipotle Coleslaw with your ribs, maybe?
Published by SmokeyGood
Recent Comments