
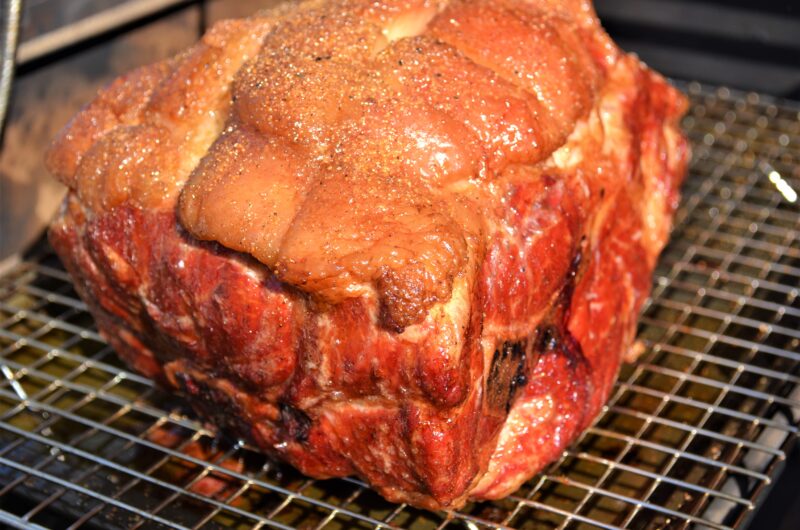
Pulled pork is the ultimate crowd-pleaser for weekend backyard entertaining. It is incredibly forgiving, highly flavorful, and naturally juicy. But let’s be completely honest for a second: smoking a traditional pork butt is an absolute mess.
As a pork shoulder cooks over 12 to 14 hours, it renders out pounds of hot liquid pork fat. On a standard Traeger, Weber, or Yoder, that grease runs down your heat diffuser plates, bakes onto your drip pans, fills your grease buckets, and coats your internal metal in thick black carbon.
If you are tired of spending more time scrubbing your smoker than you spent enjoying your dinner, you need to switch to my signature Pork Butt Pan and Rack System. Here is how to get competition-grade pulled pork with zero backyard cleanup.
[ As an Amazon Associate, I earn from qualifying purchases. ]
The Recipe Hardware Setup
Before prepping your meat, grab these essential utility items from Amazon to build your no-mess cooking station:
- Commercial Aluminum Half-Sheet Baking Pan
- Stainless Steel Interlocking Nesting Wire Rack (11.5″ x 16.5″ fits perfectly)
- Reynolds Pitmaster Heavy Duty Foil
The No-Mess Pork Prep
1. Prep the Foundation
The night before your cook, line your aluminum baking sheet pan with a thick layer of heavy-duty aluminum foil. Ensure the foil wraps smoothly up the internal walls of the pan. Drop your stainless steel rack on top of the foil and give it a quick spray with Pam Cooking Spray to keep the pork skin from sticking.
2. The Dry Brine Process
Place your trimmed pork butt onto the oiled wire rack. Apply a uniform dust of kosher salt across the entire surface. Because a pork shoulder is a massive, dense muscle, you can be liberal with your salt application here to build a deeply seasoned bark.
3. The Night Rest
Slide the entire pan assembly into your refrigerator for a minimum of 6 hours (overnight is best) to let the dry brine penetrate the meat.
4. Morning Rub Application
Apply your favorite sweet pork rub generously right before the cook. Be incredibly careful to choose low-sodium rubs so you don’t double-salt the meat after your overnight brine.
Firing Up the Pit
Fire up your pellet smoker to 225°F. Instead of transferring the slippery, seasoned pork shoulder directly onto your dirty factory grill grates, simply pick up the entire aluminum baking pan and set it right on the grates.
As the pork butt smokes, the wire rack allows the wood fire to circulate completely under and around the meat for an even smoke ring. Meanwhile, the high-rimmed pan catches 100% of the rendered pork fat, protecting your internal grill components from grease damage.
Once your pork hits 200°F internal and feels like warm butter, pull the pan from the cooker.
The Air-Conditioned Cleanup: Here is the Ultimate Win!
When your cook is finished, you will experience almost zero cleanup after a hard day at the pellet grill. While your neighbors are outside scrubbing grease out of their smoker drums on a hot afternoon, you get to carry your cooled pan straight indoors into the air conditioning.
Lift your pork butt off the rack to shred it. Then, simply peel the fat-soaked heavy-duty foil off the aluminum pan and toss it straight into the trash can. Clean the bare pan edges a bit with a damp cloth.
To clean the wire nesting rack, grab a dedicated tool like an Amazon Utility Scrub Brush. Let the rack soak in warm, soapy water in your kitchen sink for 15 minutes. Thanks in part to that morning coat of Pam spray, the baked-on carbon will slide right off the stainless steel bars with minimal effort.
Do this simple routine on every cook, and you will never need to scrape the bottom of your pellet grill again!
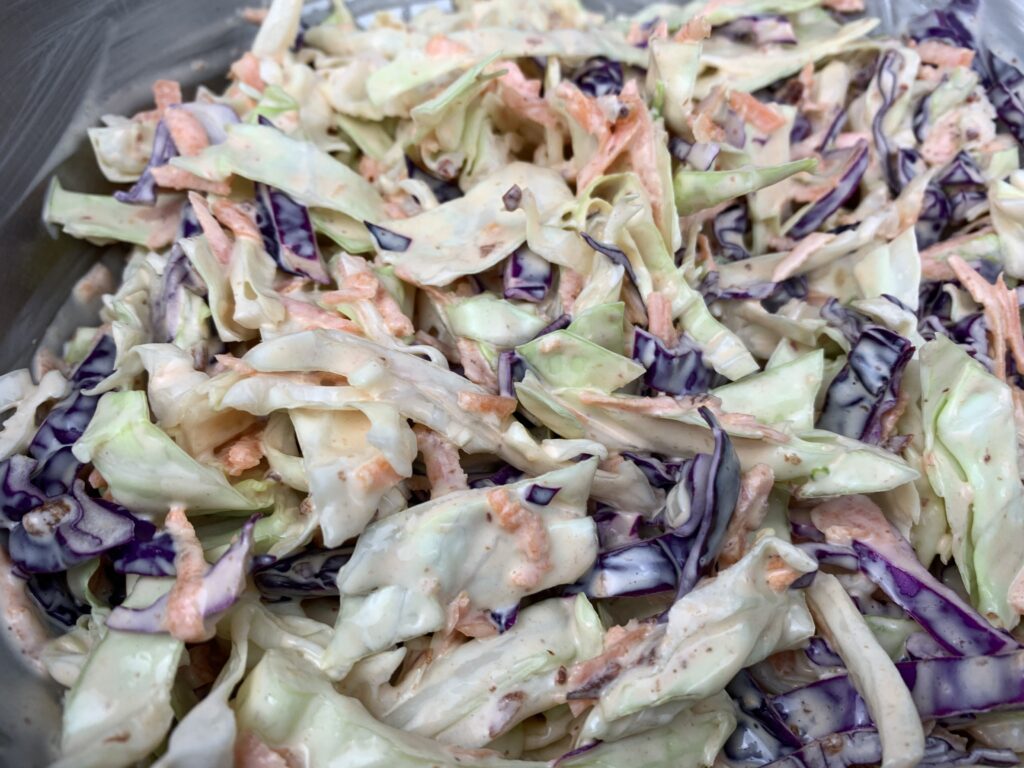
How about some SmokeyGood Coleslaw with that pulled pork sandwich???
Published by SmokeyGood
Recent Comments