
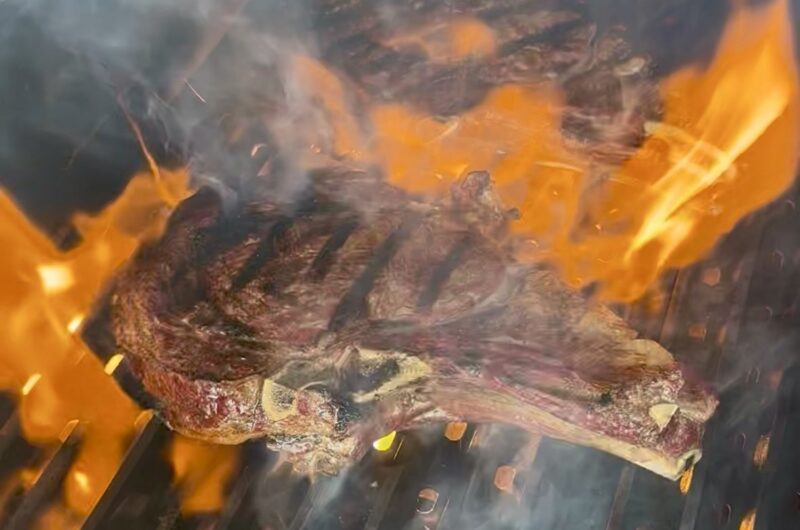
One of the biggest complaints beginners have about pellet grills is that they act like outdoor convection ovens. They are incredible for smoking a low-and-slow brisket, but when it comes time to put a hard, crusty sear on a ribeye steak, most pellet grills tap out at 450°F and leave your meat looking grey and baked.
The Yoder Smokers YS640s completely breaks this rule. Thanks to its heavy-gauge steel construction and direct-flame design, you can easily transform this smoker into a high-heat grilling machine that reaches over 700°F.
If you are an amateur looking to get incredible backyard grill marks, here is the exact step-by-step setup to master open-flame cooking on your Yoder.
[ As an Amazon Associate and brand partner, I earn from qualifying purchases.]
The Gear You Need
Before firing up the grill, open-flame searing is a bit easier using these four specific tools to maximize your safety and heat efficiency:
- The Two-Piece Diffuser Plate: Standard Yoder grills come with a solid steel heat diffuser. To utilize open flame, you need the two-piece version that features a removable trapdoor directly over the firebox.
- Anodized Aluminum GrillGrates: While you can sear on standard chrome grates, a custom three-panel set of these grates amplifies the heat, prevents flare-ups from dripping fat, and gives you those competition-style sear marks.
- An Infrared Laser Thermometer: This offers swift and precise temperature measurements for your cooking needs. Just pull the trigger, and the temperature appears on the convenient backlit screen, providing you with the information you need to check for the optimal temperature of your grill grates.
- Yoder Long Leather Gloves: These BBQ Gloves are engineered to endure high temperatures and facilitate easy handling of hot dishes. These gloves feature extended coverage beyond the wrist, providing added protection as you maneuver your meat around on these 700-degree grill grates.
Step 1: Arrange Your Internal Setup
You want to prep your grill before it gets blazing hot.
- Pull the Damper: Push your Yoder’s Variable Displacement Damper handle all the way in (toward the firebox). This concentrates the air velocity and pellet feed directly into the left side of the grill.
- Remove the Trapdoor: Use your diffuser tool to lift the removable door out of your two-piece heat plate. This exposes the open firepot.
- Drop the Grates: Place your aluminum GrillGrates directly over the newly exposed firebox on the left side. Leave your standard grates on the right side for indirect warming space.
Step 2: The High-Heat Startup & Pellet Choice
Because you are firing the grill up to maximum temperatures, pellet quality matters. Fill your hopper with a high-density, 100% hardwood pellet (like Lumber Jack or BBQr’s Delight) to ensure a clean, incredibly hot burn.
- Turn your Yoder on and set the digital FireBoard controller to 600°F
- Keep the lid closed for 15 to 20 minutes.
- Because the Yoder is built with thick 10-gauge American steel, it takes a few minutes for the thermal mass to heat up, but once those aluminum GrillGrates absorb the energy, their surface temperature will easily skyrocket past 700°F. Use your Infrared Laser Thermometer to double-check your grate temperature.
Step 3: The 60-Second Sear
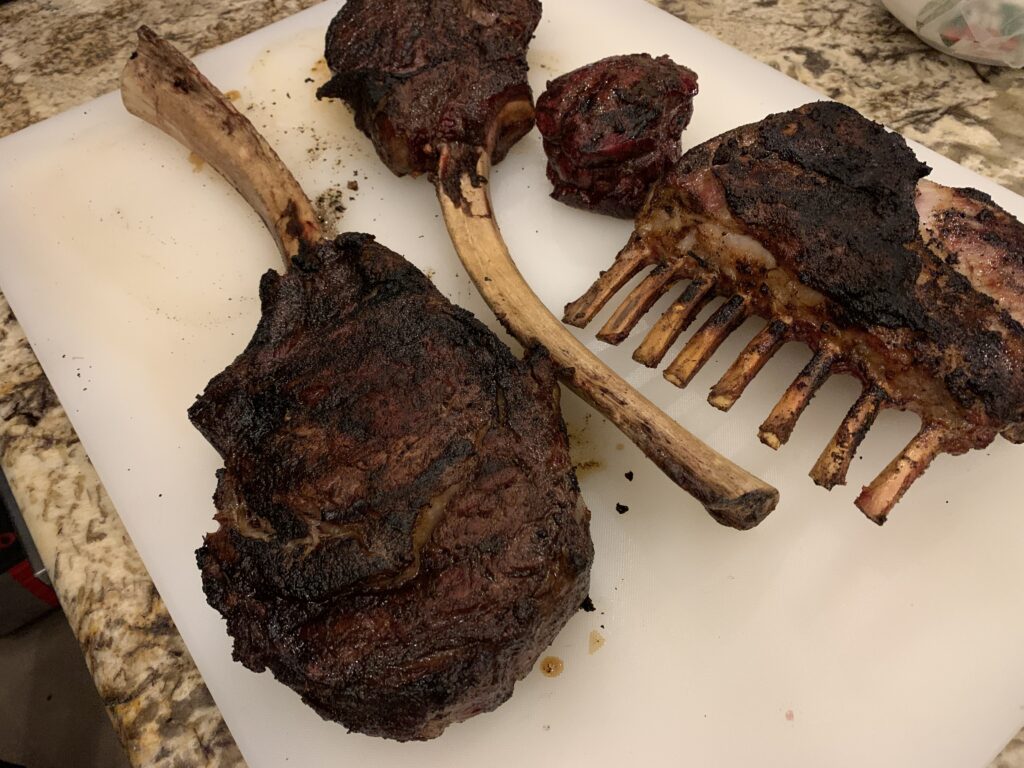
Once your grates are screaming hot, you are ready to cook. Whether you are finishing a reverse-seared rack of lamb or grilling a fresh ribeye, the process is incredibly fast.
- Place your meat directly onto the aluminum tracks. You will hear an immediate, aggressive sizzle.
- For perfect diamond cross-hatch marks, leave the meat for 60 seconds, rotate it 45 degrees, and leave it for another 60 seconds.
- Flip the meat over to the opposite side and repeat the process.
- Amateur Tip: Always keep an eye on your internal meat temperatures. A high-heat sear cooks the outside of the meat instantly. Use a reliable Instant-Read Meat Thermometer to pull your steaks the exact second they hit your target doneness.
Step 4: Cool Down and Cleaning
When you are finished flaming your steaks, do not just shut the grill off.
- Move your meat to the right side of the grill if it needs to rest or finish warming.
- Use a heavy-duty grill brush to clean the aluminum grates while they are still hot.
- Once the grill has completely gone through its cool-down cycle and is cold to the touch, use a shop vac to clear out the burn pot. High-heat grilling burns pellets faster, creating quick ash buildup that you want to clear out before your next low-and-slow smoke session.
What to do next?
Now that you know how to unlock the direct flame system, what are you going to cook first? Check out our step-by-step SmokeyGood Tomahawk Ribeye reverse-sear guide to put your new open-flame skills to the test!
Or maybe a SmokeyGood reverse-sear lamb rack?
Published by SmokeyGood
Recent Comments