
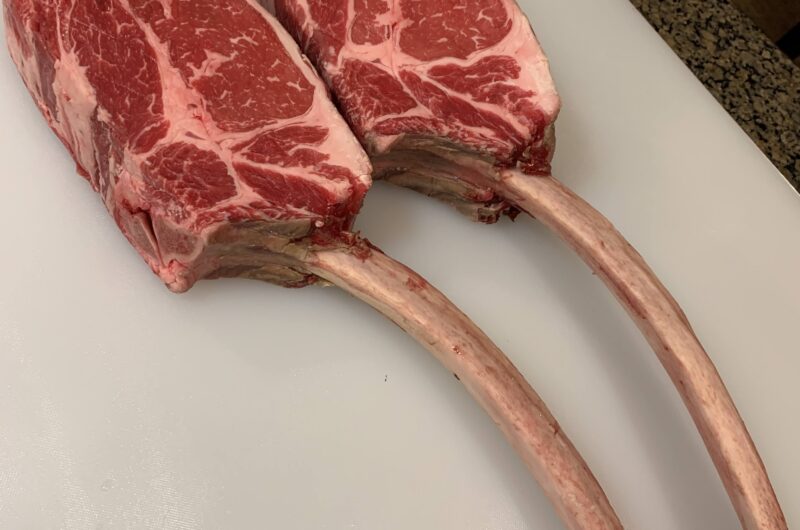
If you want to cook the absolute crown jewel of backyard steakhouse dinners, you buy a thick-cut, bone-in Tomahawk ribeye. It is a massive, intramuscular fat-marbled piece of beef that turns heads the second you carry it out to the patio.
But cooking a steak this thick presents a massive thermodynamic challenge. If you throw a 2.5-inch thick cold steak straight onto a hot grill, you will burn the outside to a black crisp while the center remains completely raw and cold.
To conquer this monster cut, traditional gas grills fail you completely. You need the exact hybrid engineering of a heavy-duty pellet machine like the Yoder YS640s to execute a flawless reverse sear.
Here is my step-by-step masterclass to getting an edge-to-edge perfect medium-rare center with a deep, crunchy, open-flame steakhouse crust.
[ As an Amazon Associate and ATBBQ brand reviewer, I earn from qualifying purchases.]
Yoder Pitmaster Gear List
To execute this recipe successfully, you need the right tools to bridge the gap between low-and-slow smoking and high-heat searing:
- The Pan & Rack System: An aluminum commercial baking sheet lined with heavy-duty foil and a nested stainless steel wire cooling rack.
- A Precision Instant-Read Thermometer: For tracking internal temperatures accurately.
- A Two-Piece Diffuser Plate: The signature Yoder trapdoor system to expose the firepot.
- Hard-Anodized Aluminum GrillGrate Interlocking Panels: To block flare-ups and amplify surface heat.
- A Laser Infrared Thermometer: To verify your grate has reached your desired temperature.
Step 1: The Overnight Dry Brine (Mandatory)
Do not skip this step! Start 12 to 24 hours before your cook.
- Place your thick tomahawk ribeye directly onto your oiled stainless steel nesting wire rack inside your baking pan.
- Apply a uniform, generous application of coarse Kosher salt across the entire surface and along the thick edges of the meat.
- Slide the entire pan assembly into your refrigerator uncovered overnight.
As it rests, the salt draws out surface moisture, dissolves, and pulls deep into the center of the muscle fibers, dry brining the interior meat for maximum juiciness. Simultaneously, the dry refrigerator air dries out the surface skin, creating the perfect foundation for a flawless crust tomorrow. Learn more about dry brining.
Step 2: The Next Morning Prep
The next morning, remove the steak from the fridge. Apply your favorite low-sodium steak seasoning or a light layer of coarse black pepper and garlic powder. Be careful with added salt – you salted it last night.
Let the meat sit on the counter on its rack for about 30 to 45 minutes to take the refrigerator chill off the muscle before it hits the smoke chamber.
Step 3: The Low-and-Slow Smoke Phase
Fire up your pellet smoker to 225°F using a premium oak or hickory pellet blend.
Pick up your entire aluminum pan and wire rack assembly and set it right onto the indirect cooking side of your smoker grates, on the opposite side to the burn grate. Closing the lid allows the convection air to gently warm the thick steak while infusing it with clean wood smoke flavor.
Using your instant-read meat thermometer, monitor the core center of the beef. The second the internal temperature hits 115°F for a medium-rare target, pull the entire pan off the cooker and tent it lightly with aluminum foil.
Step 4: Activating the Open-Flame System
While your steak rests under the foil, it is time to transform your smoker into a flame-searing beast.
- Open your grill lid and pull out your factory grates on the left side to expose the trap door.
- Slide out your two-piece heat diffuser plate trap door using your leather pit gloves to expose the raw, roaring pellet firebox.
- Slide a 3-pack of interlocking aluminum GrillGrates directly over the open flames.
- Crank your digital grill controller setting to 600 degrees.
Step 5: The Infrared Laser Test (Optional)
If you have one, grab your Infrared Thermometer, pull the trigger, and point the red laser sight directly onto the aluminum GrillGrate tracks.
While your grill dashboard might read 500°F, you want to wait until your infrared laser gun reads a blistering 650°F to 700°F on the physical metal surface. That extreme surface heat is what creates immediate Maillard-reaction browning.
Step 6: The Direct-Flame Sear
Once the laser confirms the grillgrates are screaming hot, drop your tomahawk ribeye straight down onto the grates. You will hear an immediate, noticeable steakhouse sizzle.
- Sear the steak for roughly 60 to 90 seconds, then rotate it 45 degrees to create perfect competition cross-hatch sear marks.
- Flip the steak and repeat the process on the other side.
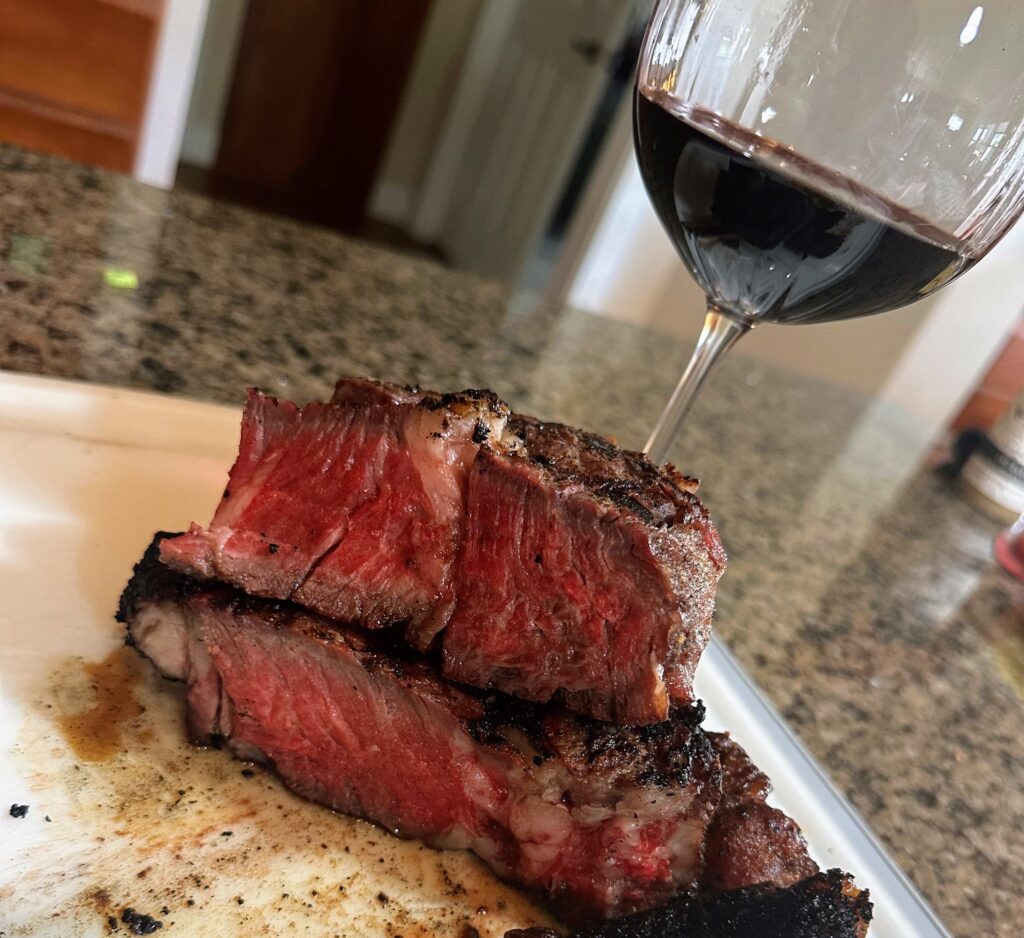
- Pull the steak off the heat when your internal probe reads 130°F for a perfect, juicy, edge-to-edge medium-rare finish.
Let it rest for 5 minutes, slice it away from the long bone, and enjoy the greatest wood-fired steak of your life!
Do you and your family enjoy a well-grilled lamb rack? Give this one a try! SmokeyGood Reverse Sear Lamb Rack.
Published by SmokeyGood
Recent Comments