
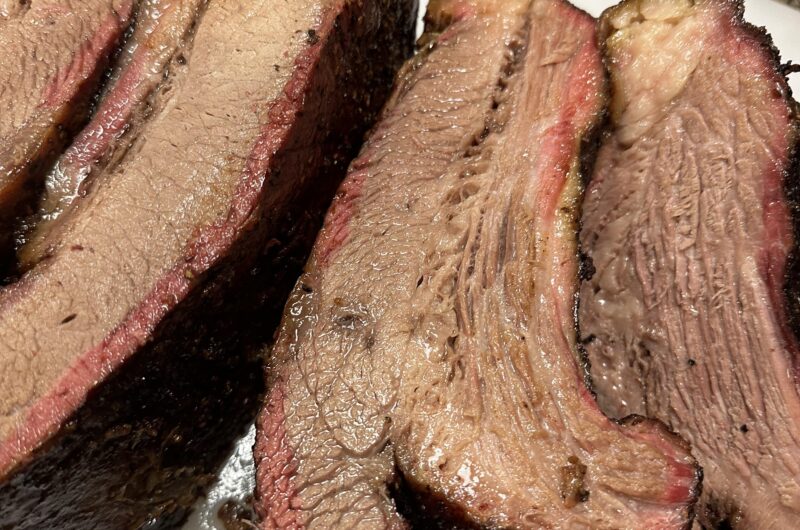
Smoking a whole packer brisket is considered the ultimate test in backyard barbecue. Because it is a massive, tough muscle made of two distinct parts—the lean flat and the fatty point—it requires precision to keep it juicy while building a dark, crunchy bark.
If you are cooking on a thin, imported pellet grill, keeping a brisket juicy can be a struggle. But your Yoder Smokers YS640s is a heavy-duty steel beast designed to hold rock-solid temperatures and deliver exceptional airflow.
If you have been putting off your first big cook, clear your schedule. Here is the foolproof, step-by-step amateur guide to smoking a perfect brisket on your Yoder.
[As an Amazon Associate and brand partner, I earn from qualifying purchases]
The Smokers Toolkit: What You Need
To get competition-quality results, make sure you have these essential tools ready before firing up the cooker:
- High-Quality Wood Pellets: The Yoder’s industrial waterfall burn tray thrives on 100% premium hardwoods. There are many options to choose from, so I encourage you to experiment and find some you like. I have found that some burn cleaner and produce less ash than others. I am a big fan of Bear Mountain Oak Pellets, but it is a personal choice.
- A Reliable Meat Probe: You cannot cook a brisket by time alone. Use the integrated FireBoard probes that came with your YS640s or a trusted Instant-Read Meat Thermometer to monitor the internal temperature accurately.
- Pink Peach Butcher Paper: Unlike heavy foil, which steams the meat and ruins your hard-earned bark, breathable pink butcher paper protects the brisket while letting excess moisture escape.
- The Brisket Knife: The brisket is a unique and iconic meat cut that, when it is smoked the SmokeyGood way, it seems to validate the reputation of the pitmaster. The finishing touch to your beautiful smokey beast is having the right knife to cut perfect long and thin strips of smokey goodness.


Step 1: Trim and Season (The Night Before)
Trimming is where many amateurs get intimidated, but the goal is simple: aerodynamic shape and uniform thickness.
- Cold Prep: Trim the brisket while it is straight out of the refrigerator. Cold fat is much easier to slice cleanly.
- The Hard Fat: Flip the brisket to the flat side and cut away the hard, dense crescent of fat (the kernel) located between the point and the flat. This fat will never render down.
- The Fat Cap: Flip it over and trim the top fat cap down to a uniform 1/4-inch thickness. If the fat is too thick, your rub won’t penetrate the meat; if it is too thin, the lean flat will dry out.
- The Texas Rub: Keep it simple for your first cook. Use a classic 50/50 mix of coarse kosher salt and 16-mesh black pepper. Apply it generously to all sides. Let the seasoned meat rest in the fridge overnight to sweat the rub into the meat.
Step 2: The Yoder Setup & Over-Night Fire Up
Because a large brisket can take anywhere from 12 to 16 hours, your Yoder’s massive hopper is your best friend.
- The Damper Position: Pull your Variable Displacement Damper handle out about 5 to 6 inches. This distributes the heat evenly across the entire cooking grates, preventing the bottom of the brisket from scorching right above the firebox.
- Set the Temperature: Fill the hopper to the brim with your chosen wood pellets. Fire up the digital FireBoard controller to 225°F.
- Placement: Place the brisket on your pan/rack fat-cap side up, with the thick point facing the left side (closest to the firebox heat source). Insert your FireBoard temperature probe into the thickest part of the lean flat.
Step 3: Pushing Through the Stall
Around the 5 to 7-hour mark, your brisket’s internal temperature will suddenly stop rising, usually stalling somewhere between 150°F and 170°F. This is completely normal—the meat is essentially “sweating” out moisture, cooling itself down.
- Do Not Panic: Do not raise the grill temperature. Let the Yoder’s PID controller do its job.
- Check the Bark: Look through the lid window. Once the rub has completely set and turned into a dark, rich mahogany crust (usually around 165°F internal), it is time to wrap.
- The Paper Wrap: Lay out two overlapping sheets of pink butcher paper. Spritz them lightly with apple juice or water, center your brisket, and wrap it tightly like a package. Place it back onto the Yoder grates.
Step 4: The Final Stretch & The “Feel” Test
Once the meat is wrapped, turn your Yoder controller up to 250°F to help render out the remaining fat.
- The Target Temp: Keep an eye on your phone’s FireBoard app. You are looking for an internal temperature between 200°F and 205°F.
- The Probe Test: Never pull a brisket based only on the number. Take your Instant-Read Meat Thermometer and slide the probe into the flat. If it feels like sliding a hot knife through room-temperature butter, it is done. If there is resistance, close the lid and give it another 30 minutes.
Step 5: The Secret to Juicy Brisket (The Rest)
If you slice your brisket right after pulling it off the grill, all the hot juices will run out onto your cutting board, leaving you with dry meat. The rest is just as important as the cook.
- Pull the wrapped brisket off the Yoder.
- Wrap the paper-bound brisket inside an old, clean bath towel.
- Place it inside an empty, insulated plastic camping cooler for a minimum of 2 hours (up to 4 hours is even better). This allows the muscle fibers to relax and reabsorb all those delicious juices.
Slice against the grain into pencil-thick slices and serve!
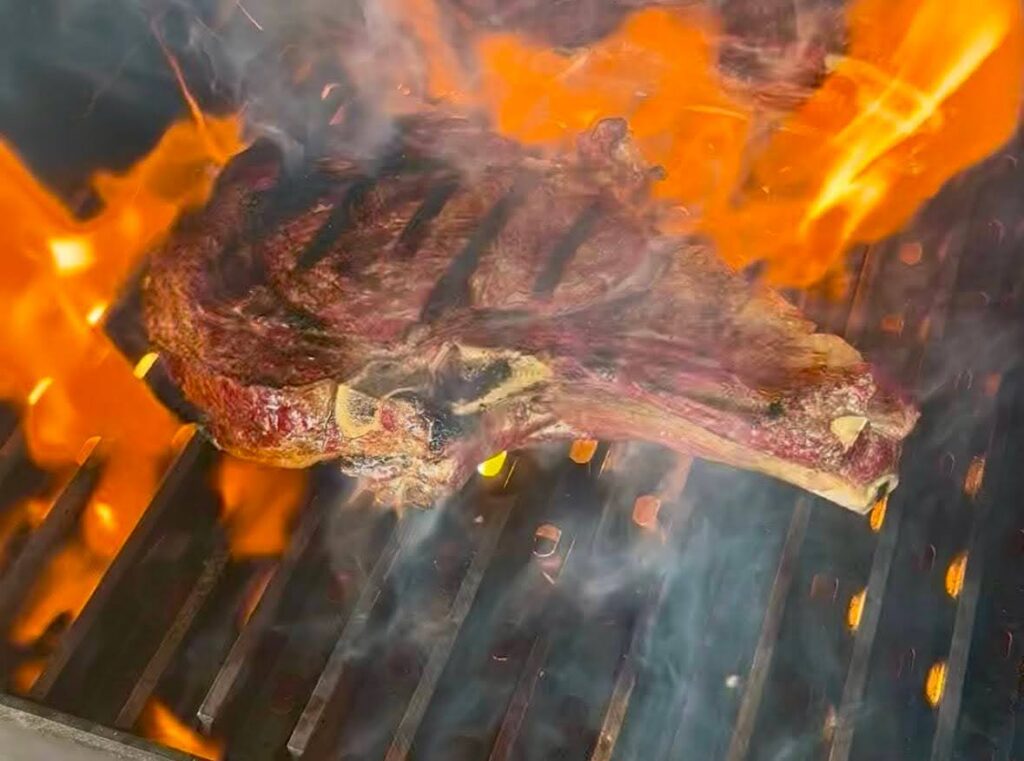
Looks like you might be a beef fan… looking for an even beefier taste? Check out these SmokeyGood plate beef ribs!!
Published by SmokeyGood
Recent Comments